Start with one place and one question
A neighborhood timeline is a sequence of clues about how a place has changed. It does not need to tell the complete history of an area. For a manageable family project, choose one block, intersection, park or building that you can observe from a public space. Then ask a focused question: What was here before the playground? When did this street get its name? How has this corner been used?
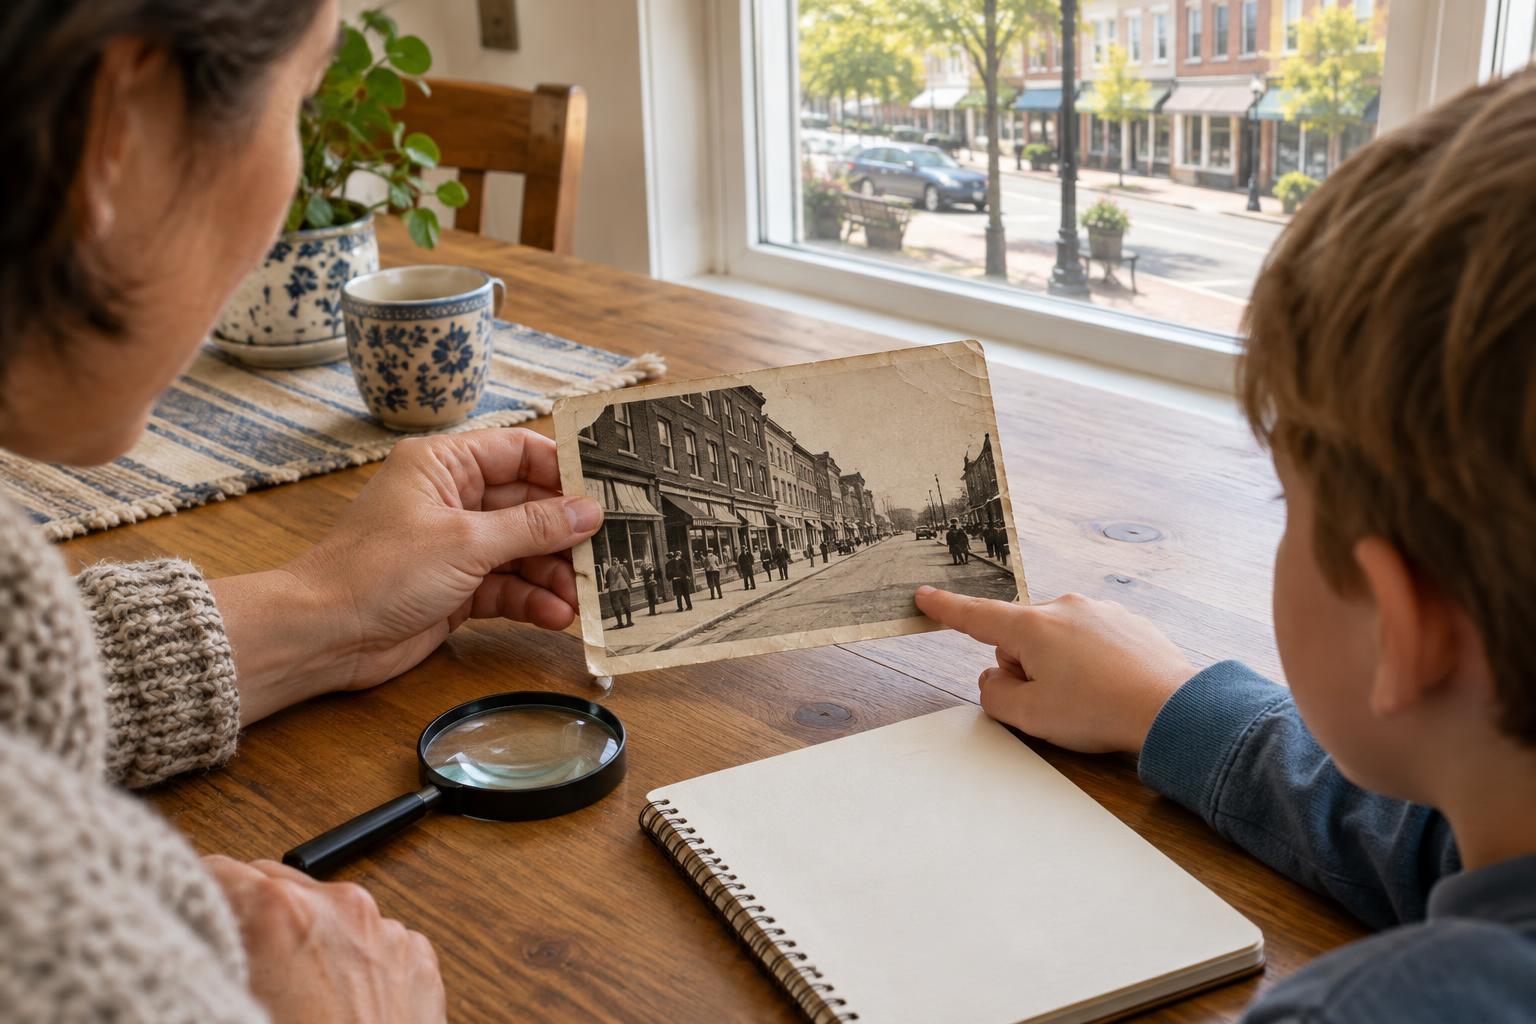
Take a walk and record what you can see without assuming you know its age. Look for dates on building plaques, cornerstones, public art, dedication signs or historic markers. Sketch the site or take photographs where permitted. A date found outdoors is a starting clue, not necessarily the date everything around it was built.
Collect sources that can be dated
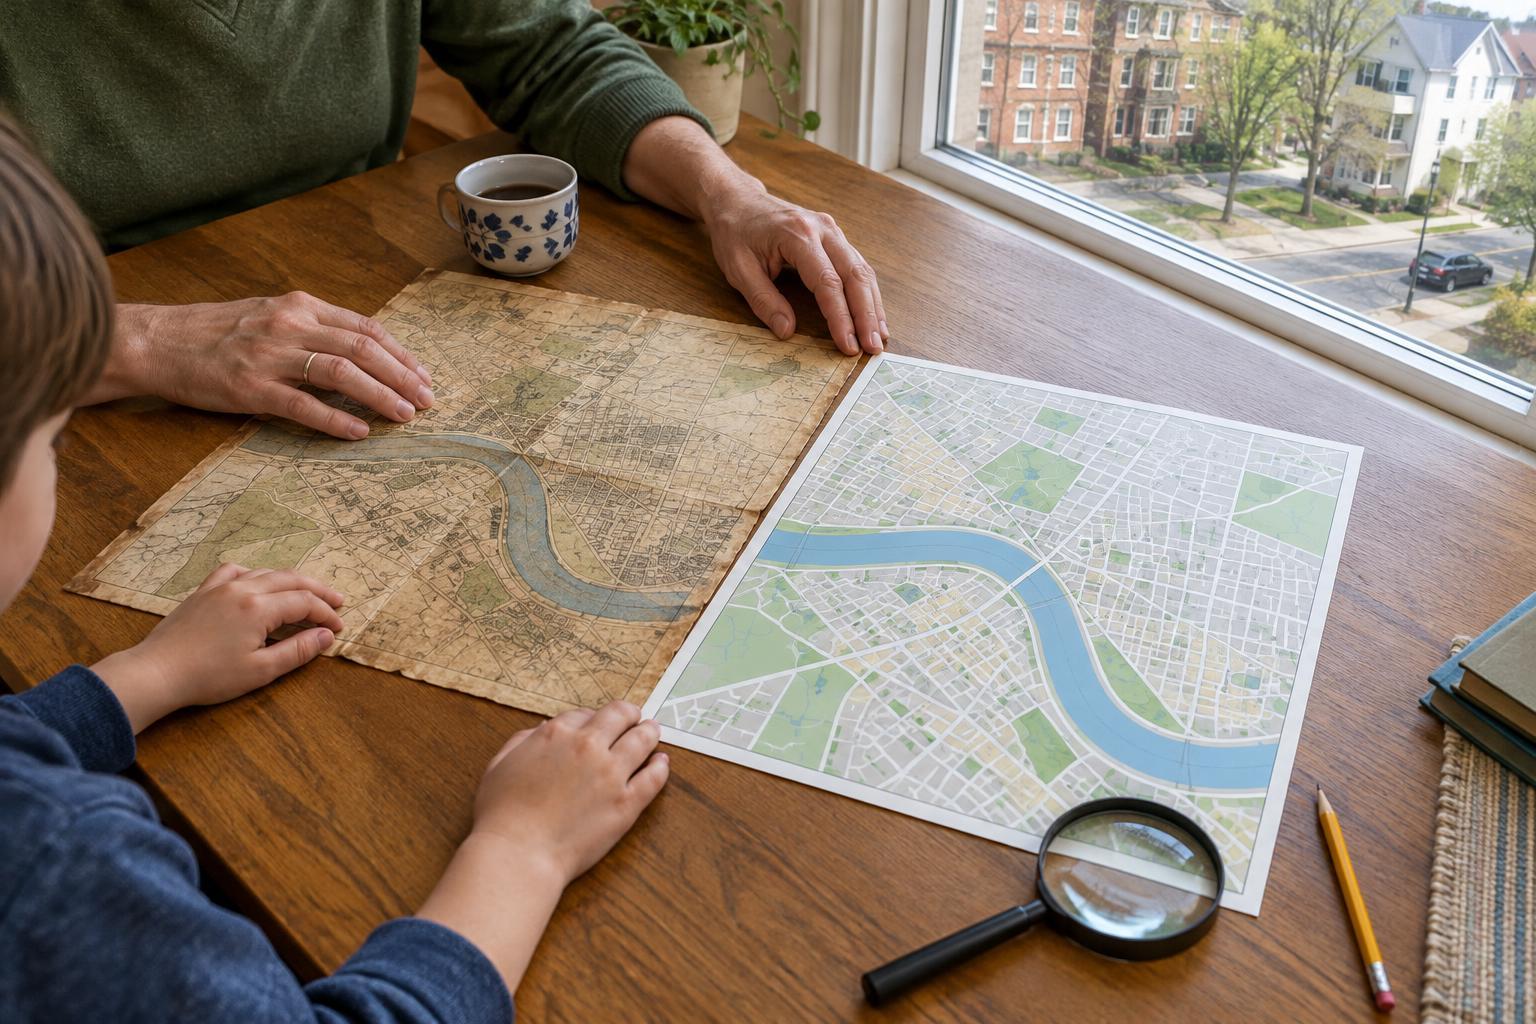
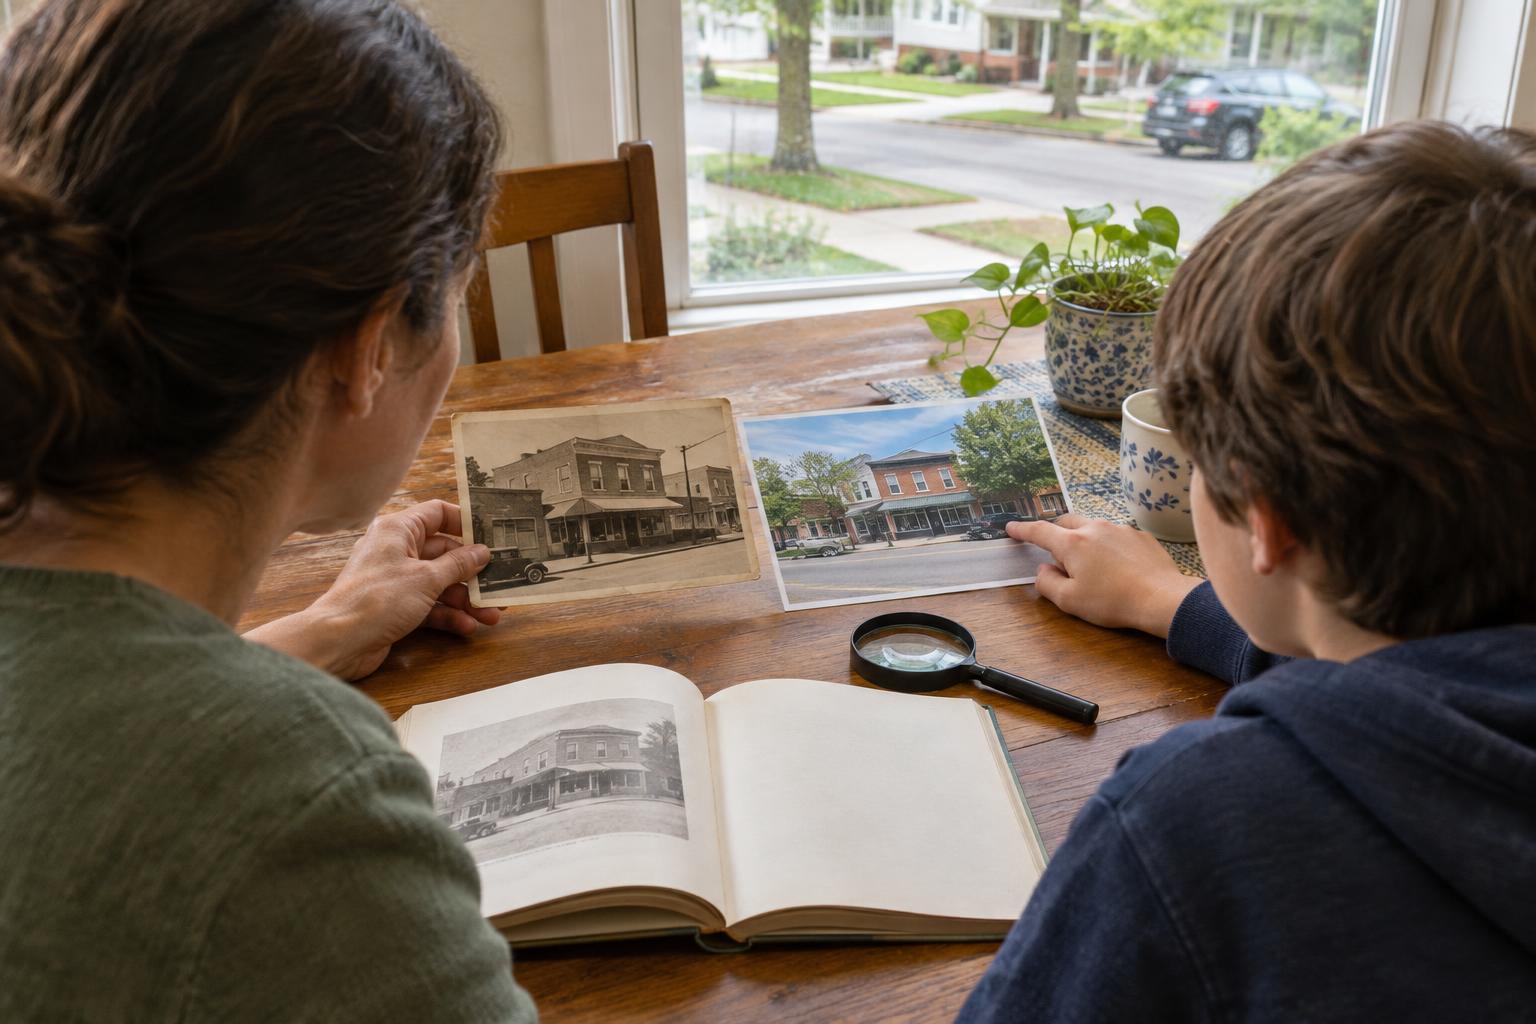
Try to find several kinds of evidence. Old maps may show streets or building outlines; photographs may show storefronts, trees or signs; newspaper items, postcards and public records may describe changes. Local libraries, historical societies and public archives can be useful places to look. Labels and captions help, but check whether they explain where their information came from.
For each item, make a simple source card. Record what it is, who made it if known, where you found it, the date shown and the detail it helps you notice. Keep a copy or a clear reference so you can return to it. If a source has no reliable date, save it in an “undated” pile rather than guessing where it belongs. Children can help by spotting repeating landmarks across images.
Ask what the date actually dates
Dates on sources do different jobs. A photograph’s date may tell you when the camera captured a scene, not when a building opened. A map’s publication date may be later than the survey it depicts. A cornerstone might mark a construction milestone, while a dedication plaque might mark a ceremony. Write a short note explaining why you think each date connects to an event.
Use careful wording when the evidence is limited. If a shop appears on a map dated 1930, the map supports “the shop appears on a 1930 map,” not necessarily “the shop opened in 1930.” If it is absent from an earlier map, the two sources may suggest a period when something changed. They do not, by themselves, give you an exact opening date. When sources disagree, keep both in your notes and look for a possible explanation.
Put the clues in order
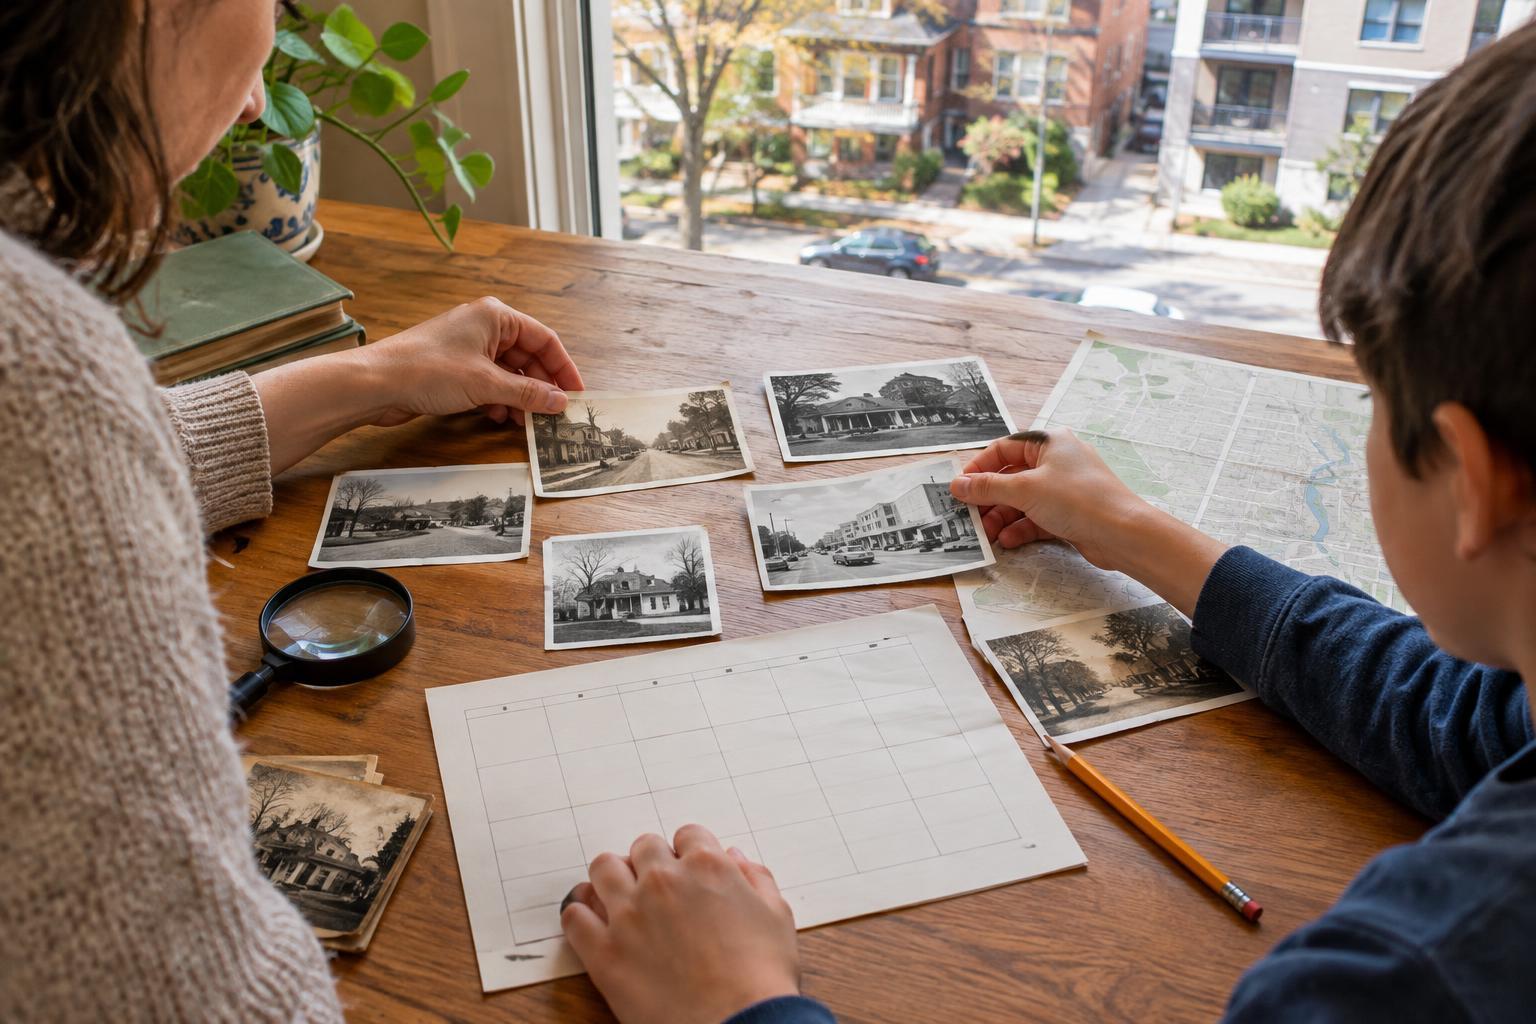
Draw a line on a large sheet of paper or use a simple digital document. Add entries in chronological order, leaving space between them for new discoveries. Each entry can include a date or date range, a brief description and a source label: “On a map dated…” or “Visible in a photograph labeled….” Put uncertain entries in a different color or add a question mark. The goal is to show what the evidence supports, not to make every gap disappear.
Try adding a second row for family observations made today. A tree, bus stop or painted sign may not be old, but recording it gives future visitors a picture of the place as you encountered it. Keep observation separate from interpretation: “The building has two doorways” is something you can see; “it used to be two shops” is an idea you would need to check.
Share the story without closing the case
When the timeline is assembled, look for patterns and new questions. Does one corner change uses more often than another? Do different sources name the same place differently? Invite children to choose one entry and explain what its source shows, what it does not show and what they would seek next. That conversation is as valuable as a polished final display.
If you share the timeline, credit the collections or creators named on your source cards and follow any rules for reproducing images. Be thoughtful about photographs of people and details about current residents; a public view of a building is usually enough for this project. Leave an “open questions” area at the end. A good neighborhood timeline is not a claim to know everything about a place—it is a clear record of how you learned what you know.