Start with a small, familiar area
A child’s first map does not need to cover a whole neighborhood. Choose a short route you already know, such as the walk from home to a playground, a loop around one block, or the path from a library entrance to a nearby bench. A smaller area gives children time to notice details without feeling that they must draw every building or street.
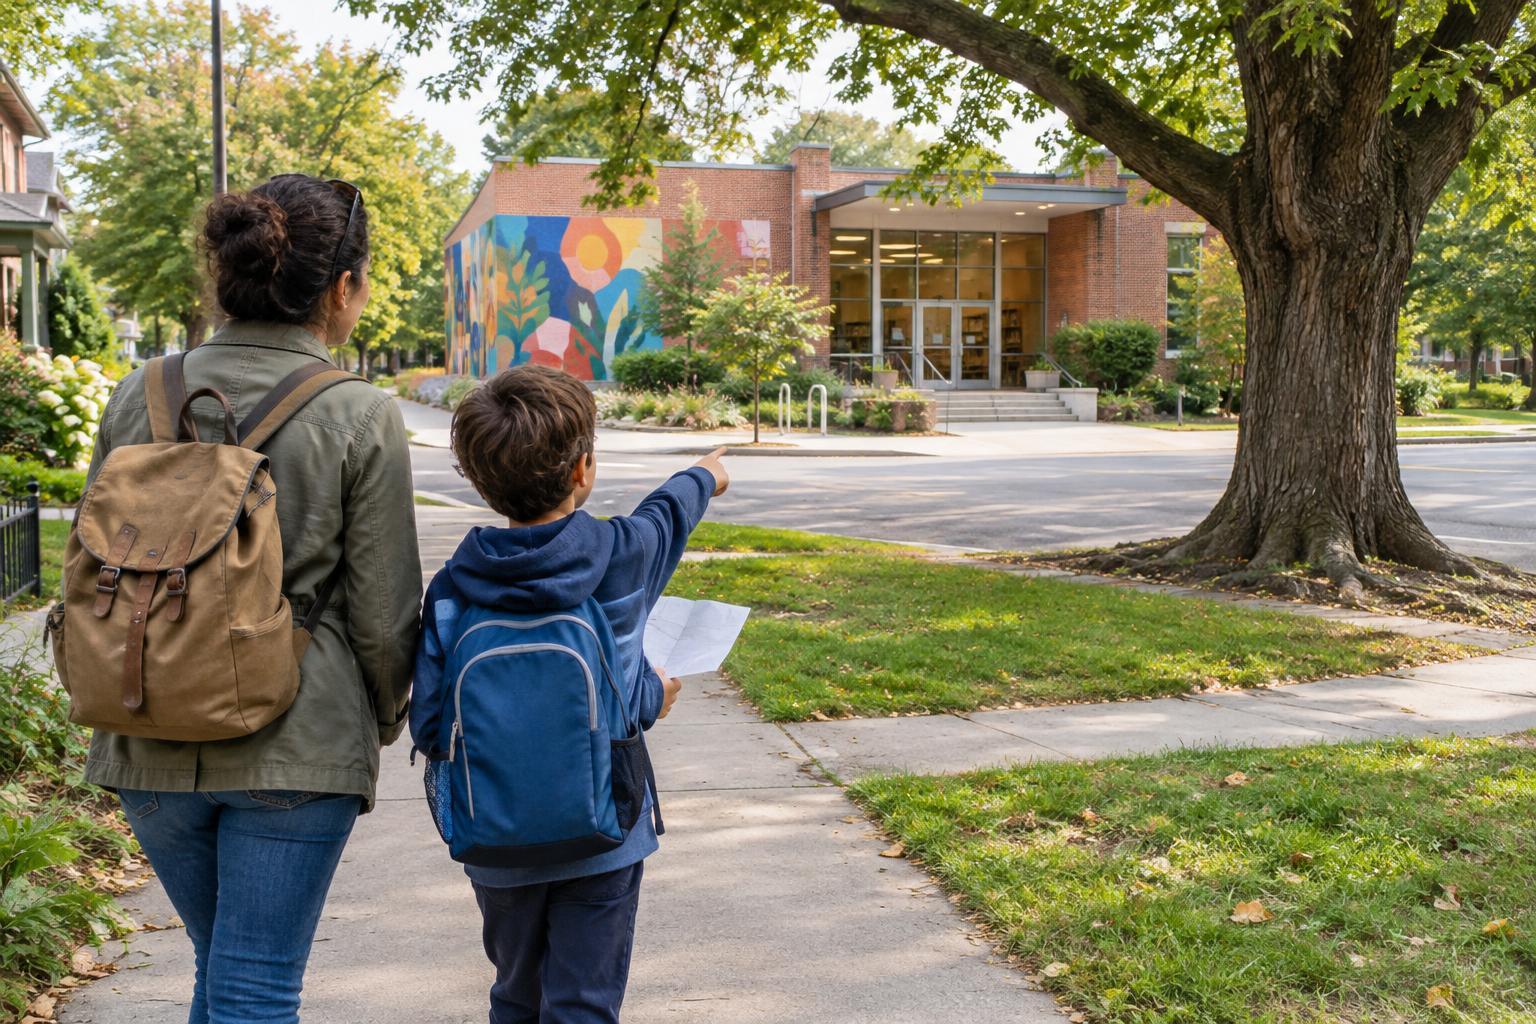
Gather a sheet of paper, pencils, and something firm to write on while you walk. Before heading out, invite your child to name a few places they expect to pass. Ask, “What will tell us we’re getting close?” Their answers might include a painted fence, a large tree, or a corner where the sidewalk turns. These everyday features can become the landmarks that hold the map together.
Walk first, draw second
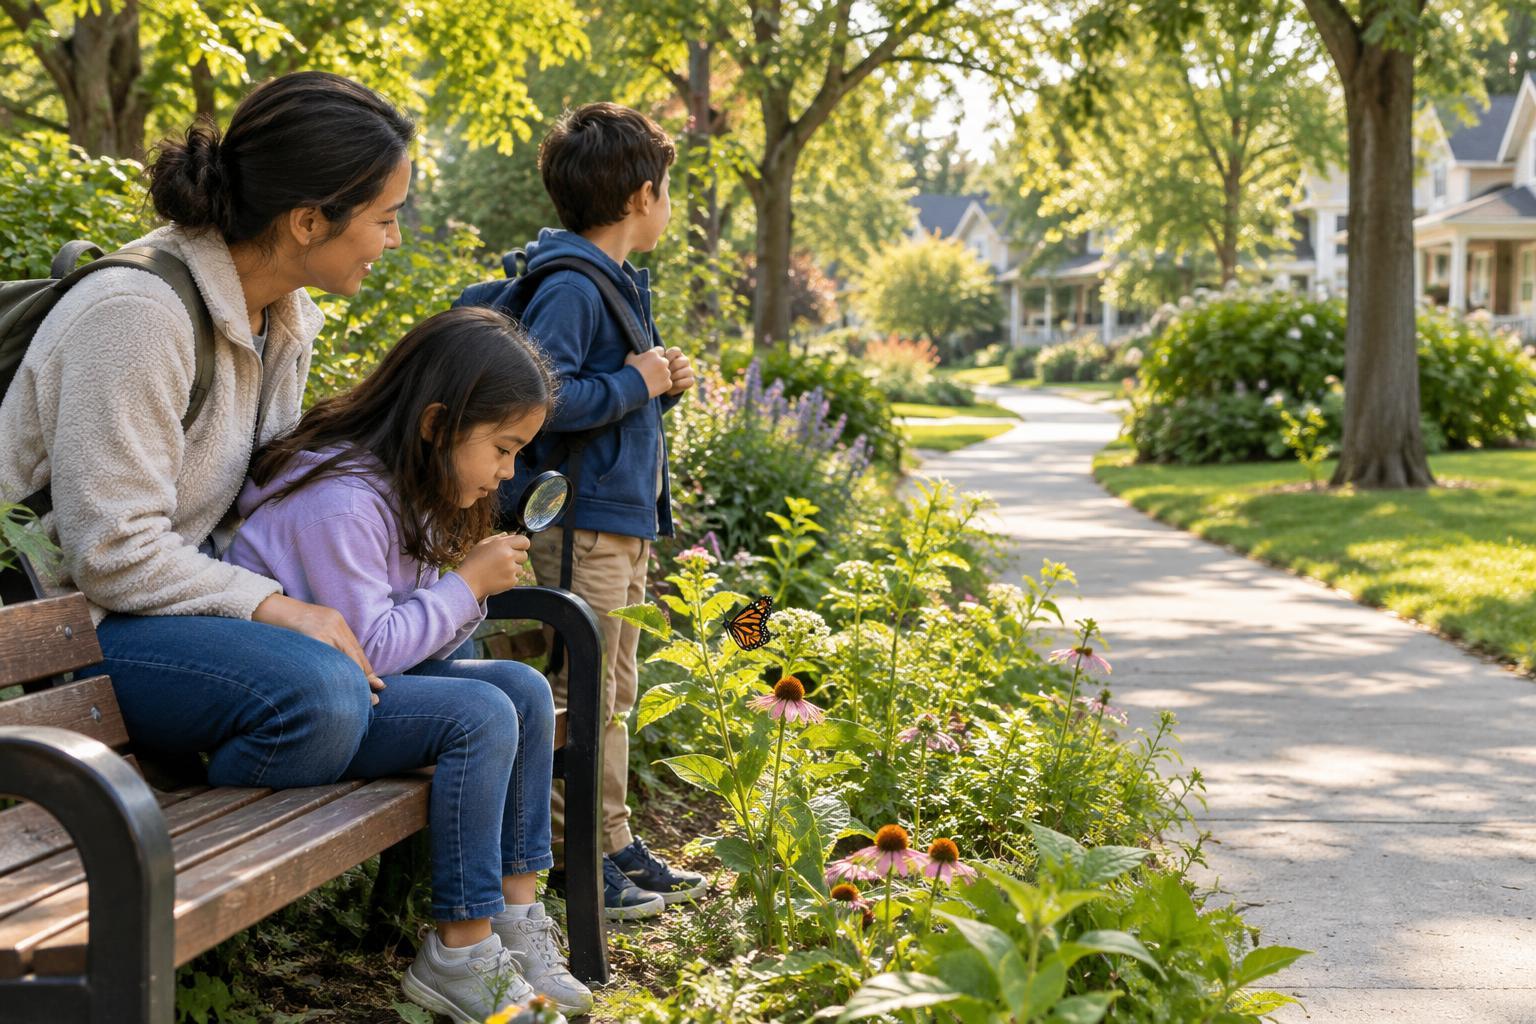
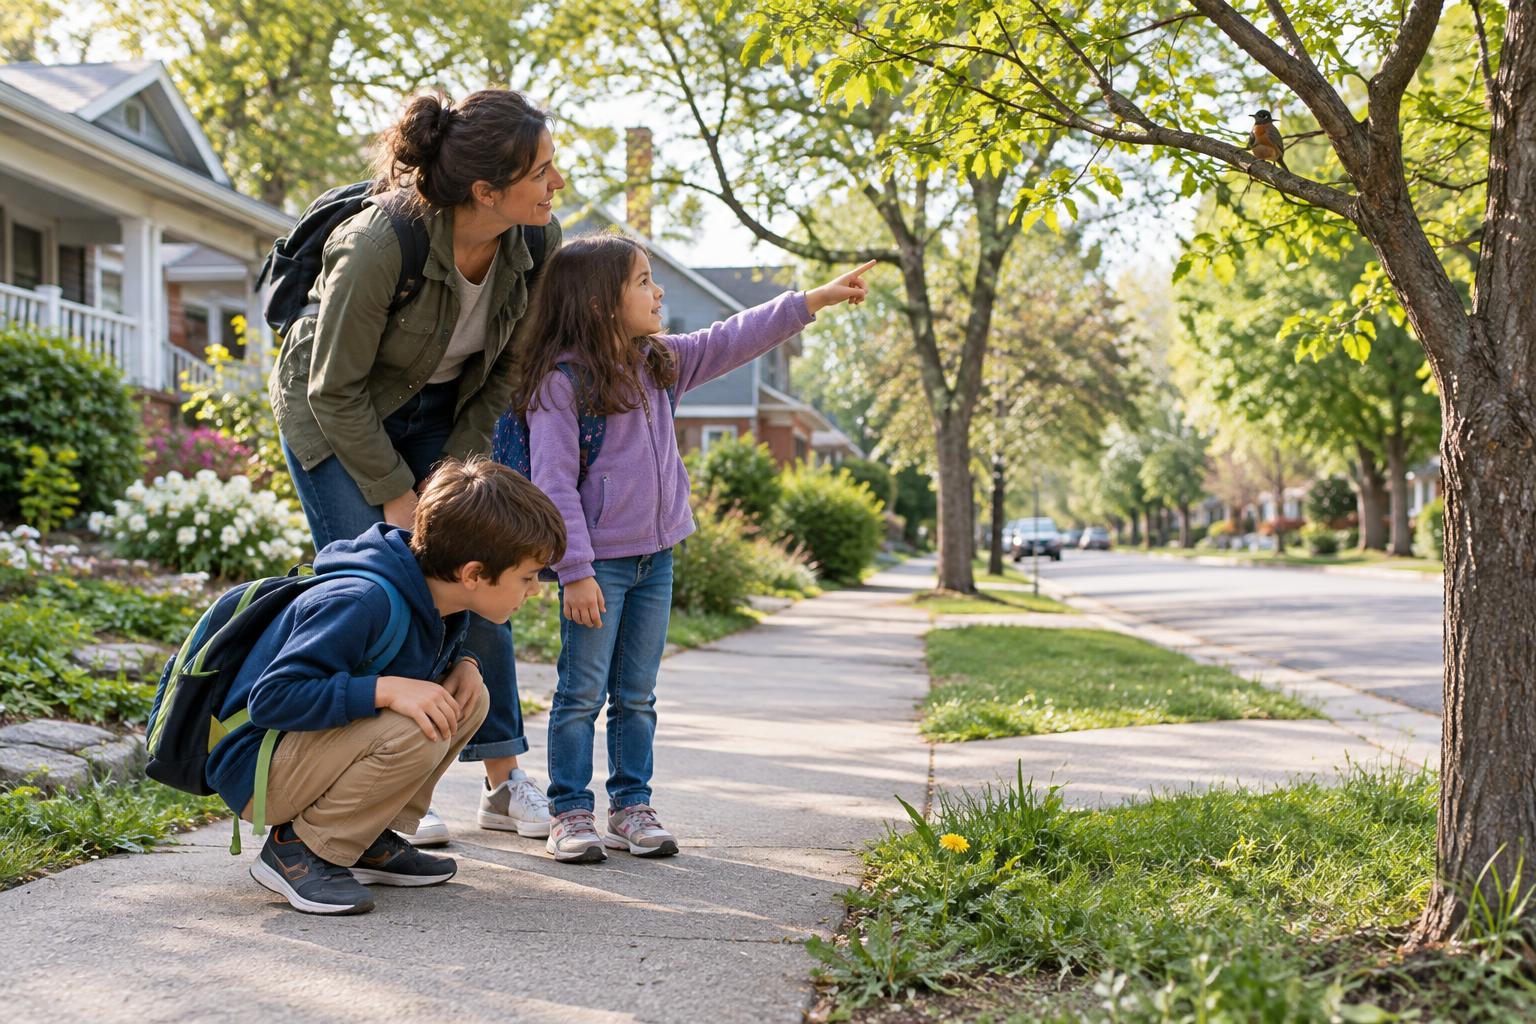
Take the route together and pause where it is safe to stop. Look for changes in direction, crossings, entrances, and landmarks that are easy to recognize. A child might remember the place where they hear birds, the wall with a bright mural, or the steps leading up to a familiar doorway. You can jot down their observations without trying to arrange them on the page yet.
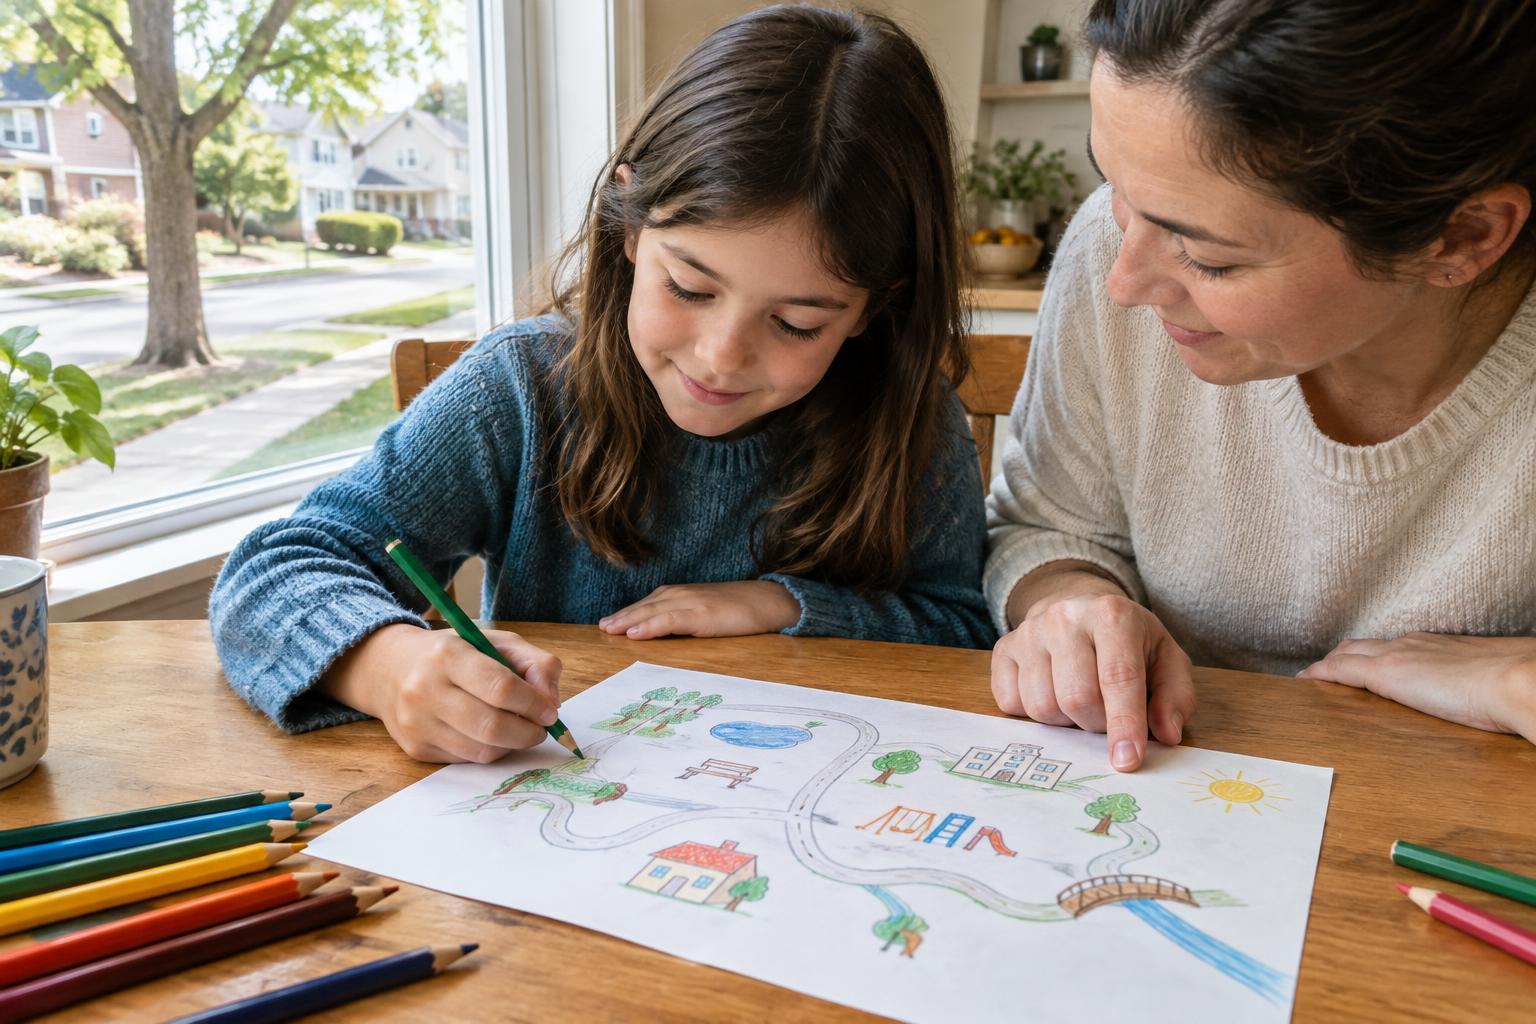
Back at home, draw the route as one simple line. Let your child decide where to place the starting point and add landmarks in the order you passed them. The result may not look like a street map, and that is fine. At this stage, the goal is to show relationships: the tree comes before the corner, and the bench is beside the path rather than across it.
Invent symbols that make sense to your child
Small drawings can make a map easier to read than long labels. A circle with branches might stand for a favorite tree; a rectangle with a book might mean the library. Choose a few symbols together, then make a key in an empty corner of the page showing what each one means. If your child is still learning to write, they can explain the symbols aloud while you add short labels.
Try using color for a purpose rather than coloring everything at once. One color could mark the walking route, another the places to pause, and a third the crossings where an adult helps everyone look carefully. If the page starts to feel crowded, make the symbols larger and include fewer of them. A map that someone can follow is more useful than one that tries to contain every detail.
Make room for different ages and ideas
Younger children may enjoy making a picture map with just three stops: where the walk begins, something they notice along the way, and where it ends. Older children can add arrows for turns, street names they already know, or a compass rose after noticing which way the sun appears during the walk. There is no need to make a perfect scale drawing; guessing which stretches feel longer can lead to an interesting conversation.
Invite your child to give the map a purpose. Could a visiting relative use it to find the picnic spot? Could a friend follow it to a meeting place with an adult? Asking someone else to read the map can reveal what needs clarification. If a symbol is confusing or a turn is missing, revise it together. That small test shows that maps are tools people improve, not pictures that must be right on the first try.
Use the finished map to notice more
Bring the map on a later walk and let your child check it against the route. They may discover a landmark they forgot or notice that the path bends differently than they drew it. Add notes in a new color so the changes remain visible. You can also make a second map of the same route based on sounds, textures, or places where you like to pause, then compare what each version helps you remember.
If you plan to share a photo of the map, consider leaving out a home address, a child’s regular schedule, and other private details. The paper copy can still include personal memories that stay with your family. Whether it is carefully labeled or full of playful sketches, a child-made map offers a way to look again at familiar places and see how they fit together.