Start with a question you can see
After a rainstorm, one patch of ground may have puddles while another looks almost dry. Where does the water go? Some runs across the surface, some evaporates, and some moves into the spaces between soil particles. A simple drainage test lets children investigate that last part by pouring the same amount of water onto different soils and watching what happens.
You do not need a laboratory or perfectly identified soil types. Two or three noticeably different samples are enough: perhaps sandy soil, garden soil and a heavier soil that feels smooth when damp. Collect small amounts only where you have permission. Avoid soil near roads, treated areas or places that may be contaminated. Keep hands away from faces during the activity and wash them afterward.
Build a matching set of test cups
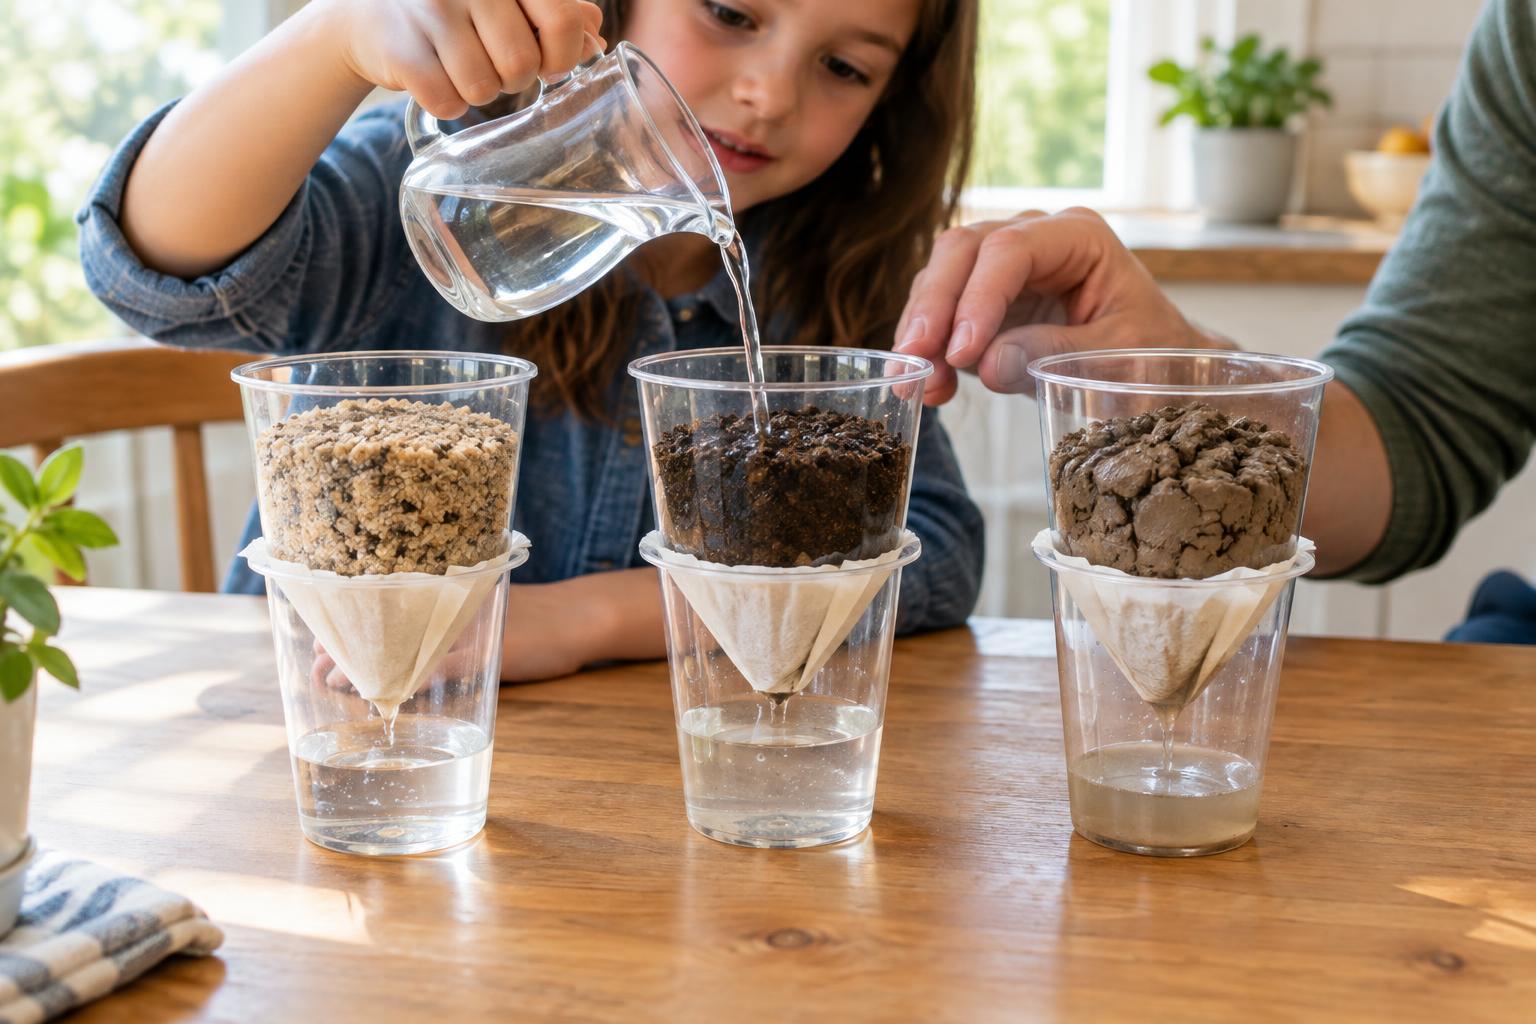
Gather two or three clear cups to catch water, the same number of small paper or reusable cups to hold soil, coffee filters, a measuring cup, a spoon and a timer. An adult can make several small holes in the bottom of each soil cup. Line each one with a coffee filter so the soil stays inside, then set it above a clear cup. Use the same cup size, filter arrangement and number of holes for every sample.
Put an equal amount of soil in each upper cup without pressing it down. If one sample is packed tightly and another is loose, their drainage may differ for that reason alone. Try to begin with samples that feel similarly moist. If that is not possible, note the difference before testing rather than pretending it will not matter.
Place the cups on a tray in case of spills. Before adding water, invite everyone to predict which sample will let water through first and which might hold more. A prediction is not a guess to be graded; it is an idea to compare with what you observe.
Pour, time and observe
Measure the same amount of water for each sample. Pour it slowly onto the center of the first soil cup and start the timer. Record when the first drops appear in the clear cup below. Repeat with the other samples, trying to pour at a similar pace. If you have enough help, you can start the cups together; otherwise, testing them one at a time works well.
After a set period, such as five minutes, compare the collected water. You can measure it or simply mark the water level on each clear cup. Notice more than speed: Did water pool on top? Did it flow steadily or in bursts? Did the soil change shape? Drawings, short notes or a simple chart can help children remember what they saw.
A soil that releases water quickly in this setup is not necessarily “better” soil. Fast drainage may leave less water available to plants, while slow drainage may keep soil wet for longer. The test shows what happened with these particular samples under these conditions.
Make sense of the results
Soil contains particles and spaces between them. Water can move through connected spaces, but particle size is only part of the story. Sand often drains readily because it tends to leave larger spaces between grains. Finer particles, organic matter and the way soil is packed can change how water travels and how much remains behind.
Ask children to explain their observations in their own words before offering an explanation. For example: “The water appeared underneath this cup first, but the other cup collected more by the end.” That is a useful observation, even if it is surprising. Dry soil can also behave unexpectedly at first, and small differences in filters or pouring can affect the result. If the outcome is puzzling, try again and see whether it repeats.
Take the investigation outdoors
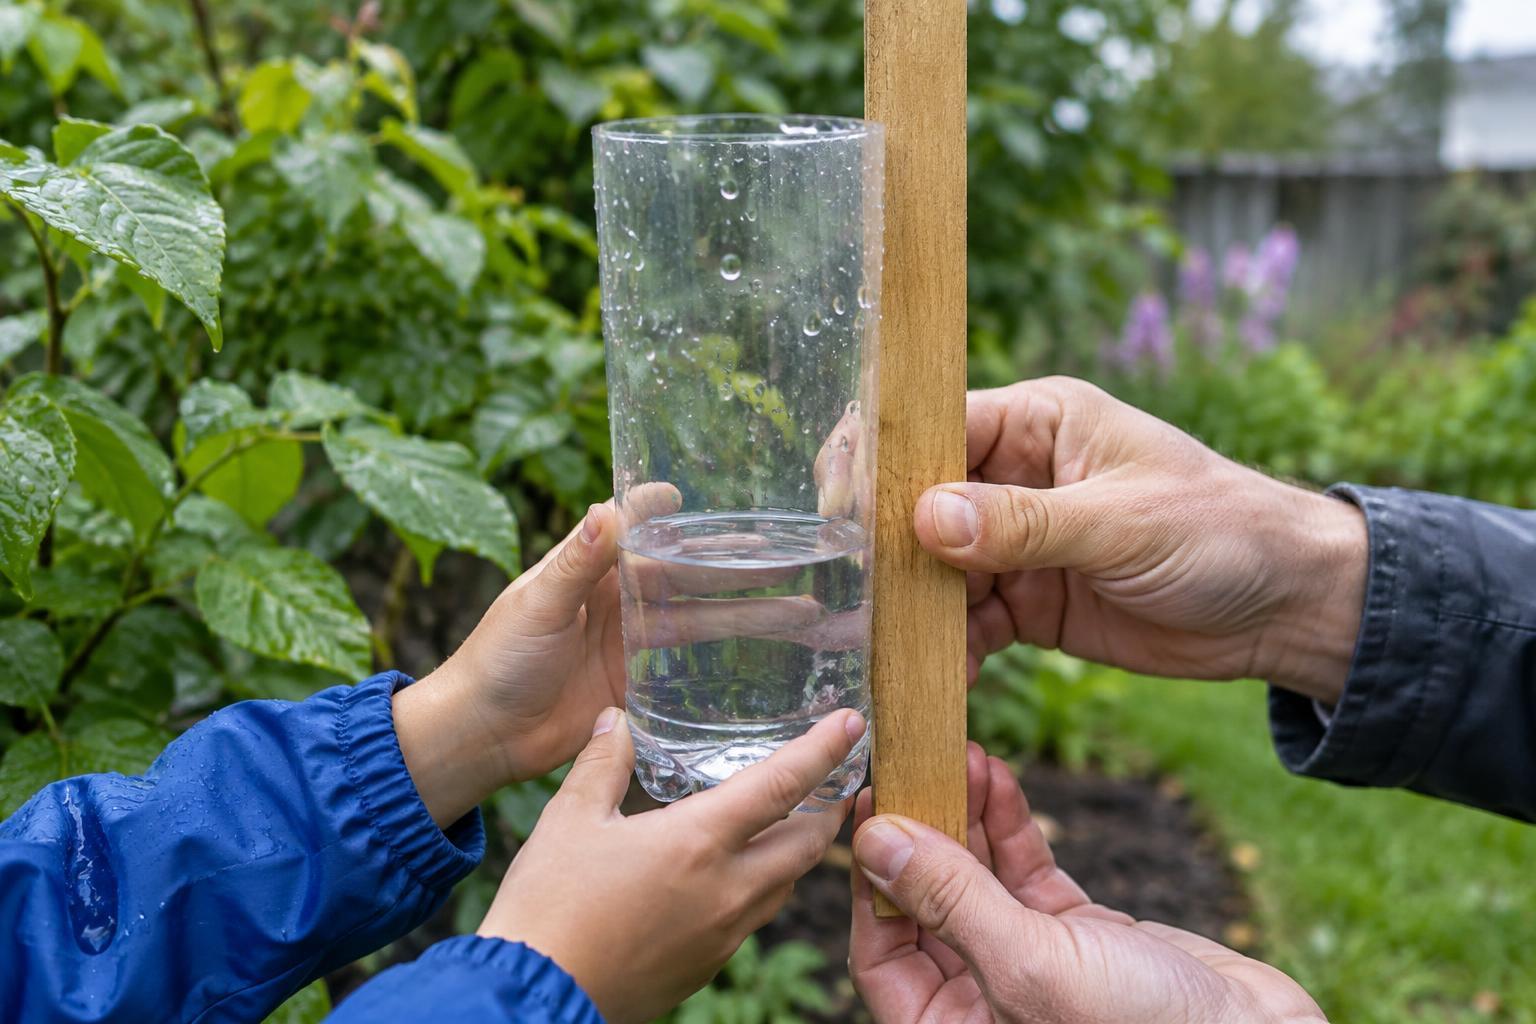
Use the test as a starting point for noticing your neighborhood. On a walk after rain, look for puddles, damp planting beds and areas where water seems to run downhill. Stay on public paths or places you have permission to explore, and observe without disturbing drains or planted areas. Ask whether slope, pavement, shade or compacted ground might help explain what you see.
For a follow-up experiment, change just one feature. You might compare loose soil with the same soil gently pressed down, or mix a little clean leaf compost into one sample. Keep the water amount and test cups the same. Changing one thing at a time makes it easier to connect a new result to the change you made—and gives young investigators a reason to ask their next question.