A question to start with
An empty cup does not look empty to a scientist. Before you put anything in it, the cup contains air. Because air is invisible, it can be hard to picture it taking up room. A cup lowered upside down into water offers a way to investigate that idea with materials you may already have.
Ask your child to predict what will happen to a piece of paper tucked inside the cup. Will it stay dry or get wet when the cup goes underwater? Invite them to explain their guess. There is no need to settle the question yet; the surprise is part of the experiment.
Gather materials and set up
You will need a clear, sturdy plastic cup; a small piece of paper towel or tissue; a bowl or basin deep enough to cover the cup; and water. A tray or towel beneath the basin can catch spills. Choose a piece of paper that fits snugly at the bottom of the cup when the cup is upside down. If it slips out easily, use a smaller piece or secure it inside with a small loop of tape.
Fill the basin with enough water to submerge most of the cup without overflowing. An adult should help younger children handle the basin and keep the activity at a comfortable, supervised water depth. A plastic cup is preferable to glass, which can break if it is dropped. Keep the paper away from the cup’s rim so it does not touch the water as you lower the cup.
Lower the cup and check the paper
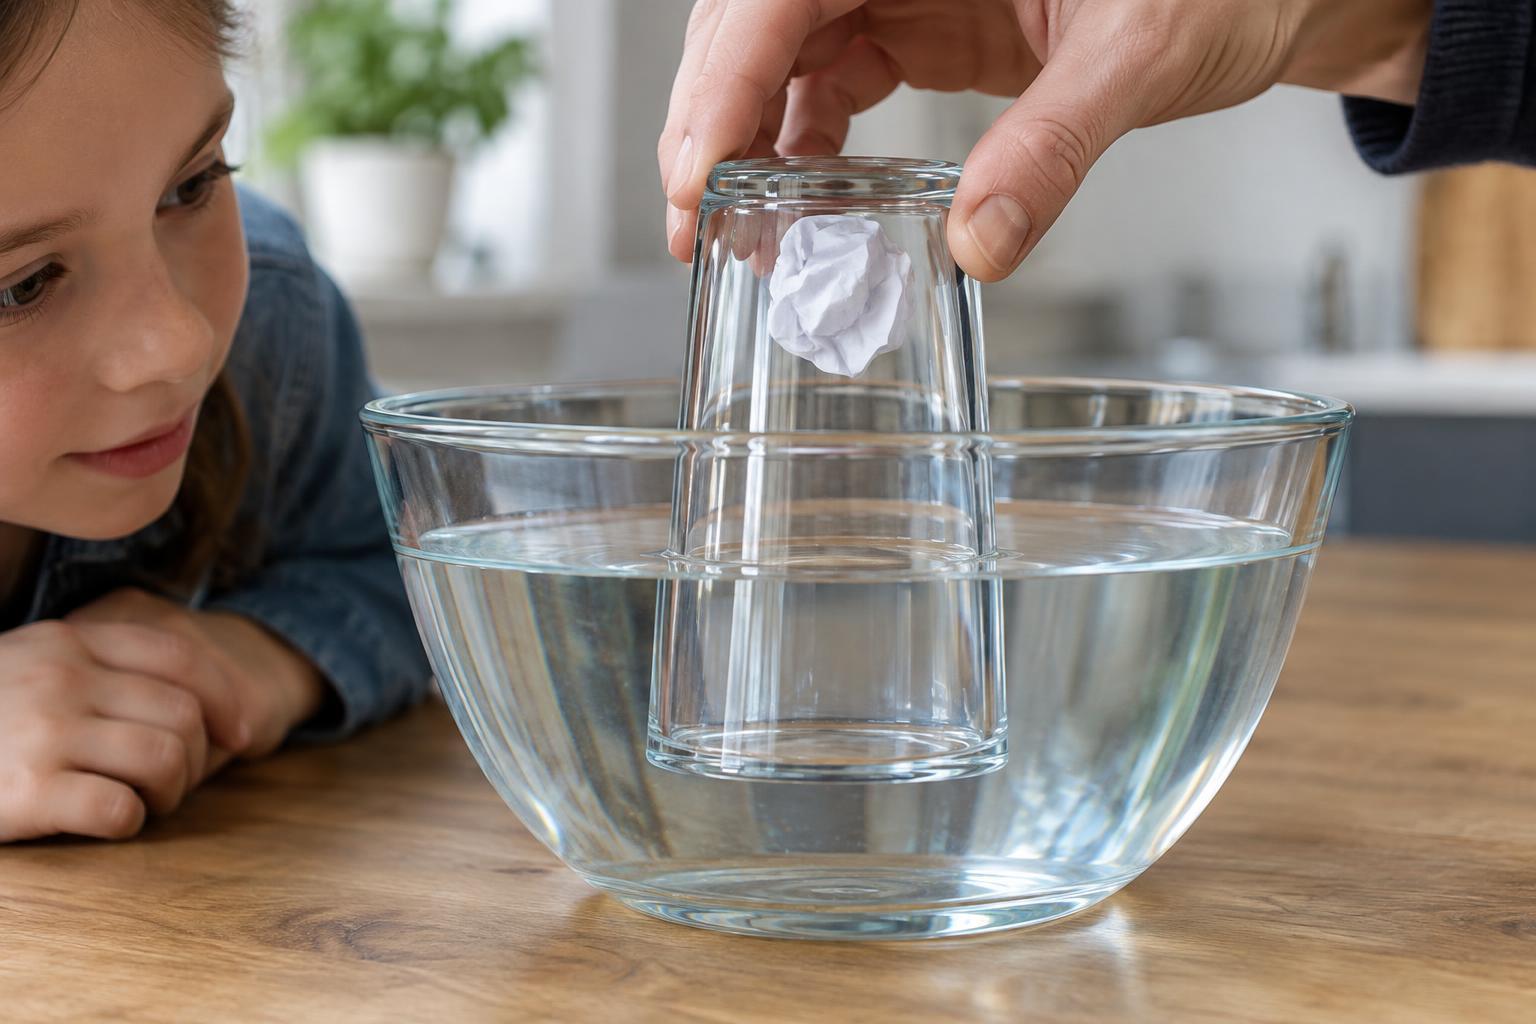
Press the paper into the bottom of the cup. Turn the cup upside down and hold it with its open end facing straight toward the water. Lower it slowly and vertically into the basin. Try not to tilt it. Hold it under the surface for a moment, then lift it straight back out. Let water drip from the outside before reaching in to feel the paper.
The paper will often be dry, even though the cup was underwater. The cup carried air down with it. With the opening facing downward, that air occupied space inside the cup and kept most of the water from reaching the paper above it. If the paper is damp, check whether the cup tilted, the paper touched the rim, or water splashed inside while you lifted it. Try again with fresh paper; a different result is a useful observation, not a failed experiment.
Let the air out on purpose
Now repeat the dip, but gently tilt the cup while its opening is below the water’s surface. Watch for bubbles rising from the opening. Lift the cup and check the paper again. As air leaves in bubbles, water can move into the space it occupied. Depending on how far and how long you tilt the cup, the paper may become damp or fully wet.
To compare the two tries fairly, use a fresh piece of paper and lower the cup to about the same depth each time. Change only the cup’s angle. Ask: Where were the bubbles before we could see them? What moved into the cup as they rose? Children can describe what they noticed in words or draw two pictures: one with the cup held straight and one with it tilted.
Keep exploring the idea
Try lowering the cup straight down again and look closely at the waterline inside it. You may see some water rise into the opening, but not fill the whole cup. The trapped air can be squeezed somewhat as the cup goes deeper, so this experiment does not mean water can never enter an upside-down cup. It shows that air is there and that water cannot simply occupy all the same space at once.
For one more comparison, dip an empty cup at an angle from the start. Watch the bubbles, then straighten the cup while it remains underwater. What is inside it now? This variation helps connect the visible bubbles with the otherwise invisible air. When you finish, pour the water onto plants if suitable or use it for cleanup, dry the work area, and ask your child how they would explain the dry-paper surprise to someone who has not tried it.