Start with a pair, not a plan to see everything
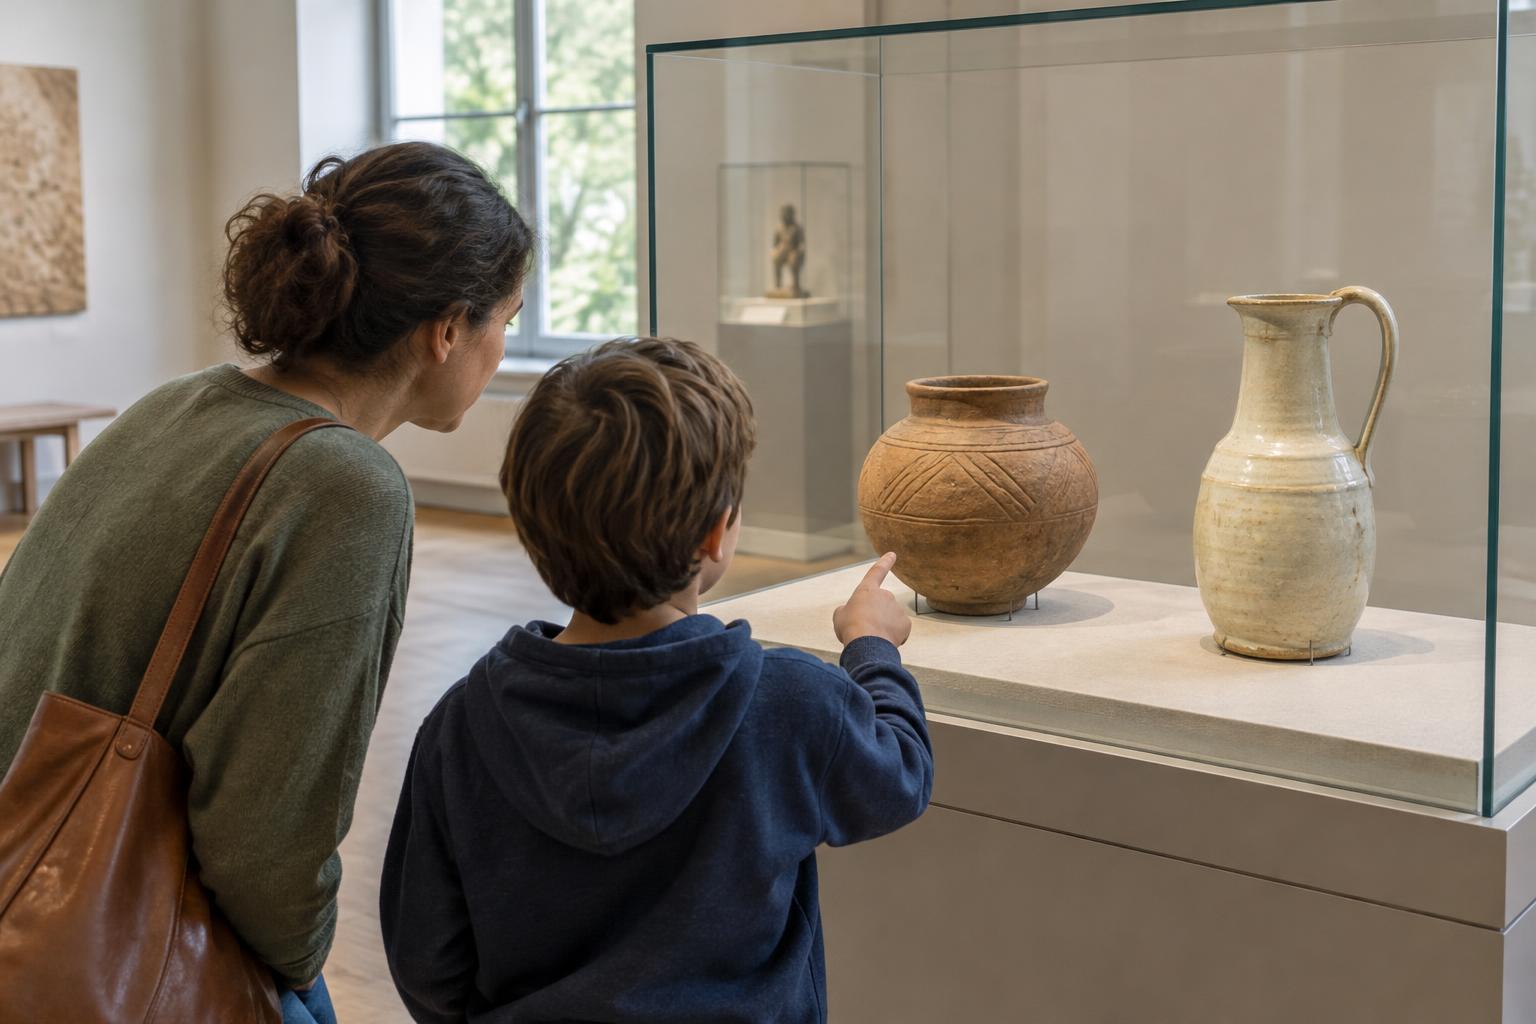
A museum can offer more to look at than a family can comfortably explore in one visit. Comparing two objects gives children a manageable task without requiring anyone to know the subject in advance. The objects might be paintings, tools, fossils, photographs, models, or items in separate display cases. The aim is not to find the “right” pair. It is to find two things that invite a second look.
Let your child help choose. They might pick two objects with the same color, two that seem to serve a similar purpose, or two that look completely unrelated. If a gallery is busy, choose items you can view without blocking a doorway or display. There is no need to cross the whole museum for the second object; a pair in the same room can provide plenty to discuss.
Give each object its own moment
Before comparing, spend a little time with the first object on its own. Ask, “What did you notice first?” Then look again for a detail that was easy to miss. You might notice a worn edge, an unusual material, a repeated shape, or the way something is positioned. Let different family members name different details. An observation does not have to be impressive to be worth sharing.
Do the same with the second object. Try giving everyone a quiet moment to look before talking. If someone prefers not to speak, they can point to a detail or describe it later. Follow the museum’s rules about touching displays, and keep a comfortable distance from objects and other visitors. This activity works through looking; it does not depend on handling anything.
Compare what you can see, then wonder why
Begin with an easy question: “What is one thing these have in common?” Follow it with, “What is one difference?” Children may spot similarities adults overlook, such as matching curves in two objects made for very different purposes. If nobody has an answer, offer a starting point: size, material, color, pattern, or the parts that appear to move. You can also compare how each object makes you feel, while remembering that feelings are personal rather than facts about the object.
Once you have a few observations, make room for guesses. Why might one object be sturdy and the other delicate? Why might a maker have chosen those shapes? Treat these as possibilities, not conclusions. If a label offers more information, read it together to see which ideas it helps explain and which questions remain open. It is fine to say, “We can’t tell from looking.”
Adjust the activity to your child
For a younger child, keep the comparison brief: “Which is bigger?” or “Can you find a circle on both?” An older child may enjoy choosing objects from different galleries and thinking about how their uses or settings differ. If reading labels is tiring, skip them for now. If your child wants to tell an imaginative story about the pair, enjoy the story while keeping a gentle distinction between what is visible and what is invented.
A comparison can also be silent or nearly silent. Family members might each choose a favorite detail and share it on the way out. You do not need paper, pencils, or a phone, though a quick note afterward can help you remember the objects. Check museum policies before sketching or taking photographs, and choose a method that does not interrupt other visitors.
End with a question you can carry home
Stop when the conversation feels complete, even if it lasts only a few minutes. Ask each person which object they would revisit and what they would look for next time. Someone may choose the one they understood least. Curiosity, rather than agreement, is a useful ending.
Later, try describing the pair from memory. Which details stayed with you, and which became hard to recall? You might draw them, make two small models from materials at home, or simply talk about them over a meal. If a question remains, keep it as a question rather than rushing to supply an answer. Two carefully observed objects can give a family something to think about long after the visit ends.