The droplets come from the air
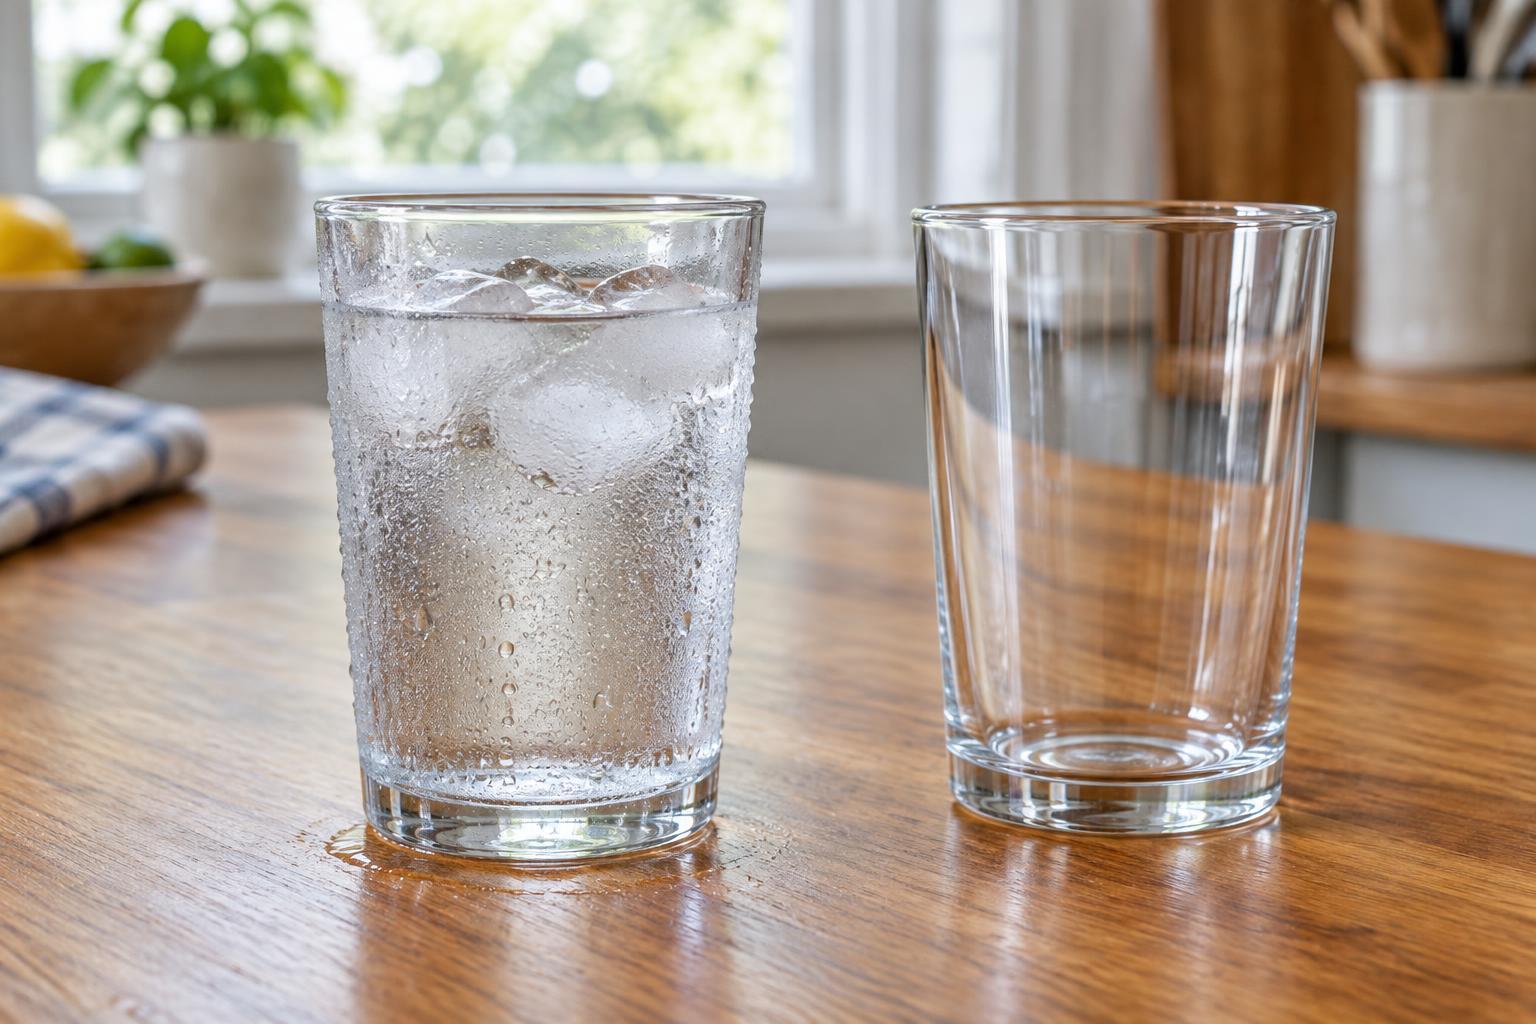
Set a cold glass of water on the table and wait a few minutes. Tiny beads may appear on its outside, even if no one has spilled a drop. It is tempting to think the water has passed through the glass, but an ordinary drinking glass does not let liquid water seep through its sides. The droplets come from water vapor in the surrounding air.
Water vapor is water in a gas form. It is mixed into the air around us, although we usually cannot see it. When that air touches the cold surface of the glass, the air nearest the glass cools. If it cools enough, some of its water vapor changes into liquid water on the surface. That change is called condensation. Small droplets can join together, grow heavier, and slide down the glass.
Why temperature and humidity matter
Air can contain water vapor at many temperatures, but cooling air makes condensation more likely. The temperature at which water vapor begins to condense is often called the dew point. Families do not need to measure it to see the effect: a glass that is much colder than the surrounding air is more likely to collect visible droplets than one that is only slightly cool.
The amount of water vapor already in the air matters, too. Humidity is a way of describing moisture in the air. On a more humid day, droplets may appear sooner or build up more noticeably. In drier air, a cold glass may stay nearly dry. These are patterns to investigate, not guarantees: the glass temperature, room conditions, and length of time you wait all affect what you see.
Try a cold-glass comparison
Gather two similar drinking glasses, room-temperature water, cold water, a few ice cubes, and a towel. Put room-temperature water in one glass. Put cold water and ice in the other, taking care to wipe its outside dry before you begin. Set both glasses side by side on a surface that can handle a little water. Ask everyone to predict whether droplets will appear on either glass, then look closely at their outsides every few minutes.
Try touching the outside of each glass with a dry fingertip, or place a small piece of dry paper towel against each one. Where does the towel pick up moisture? Notice where the first droplets form and whether they grow or run downward. Keep the activity playful by inviting children to describe what they see before offering an explanation. Wipe up spills promptly, and have an adult handle breakable glasses or substitute sturdy clear cups.
Change one thing and observe again
Once you have spotted condensation, choose one change to test. You might use two glasses with different amounts of ice, or check a freshly dried cold glass at regular intervals. Make a simple record with drawings or words: “dry,” “tiny dots,” and “large drops” are useful observations. Changing just one thing at a time makes it easier to discuss what might have caused a difference.
If the results surprise you, that is part of the investigation. Ice may melt while you are watching, the glasses may warm, or a draft may affect one glass more than the other. Rather than treating every difference as proof, ask, “What else changed?” Then repeat the comparison if you want to explore the question further.
Look for condensation beyond the kitchen
A cold glass is one familiar place to find condensation, but the same basic change can happen elsewhere. A bathroom mirror may fog when warm, moist air meets its cooler surface. Drops may gather on the outside of a chilled food container. On some mornings, moisture in the air condenses on cool outdoor surfaces as dew. Each example offers a chance to ask where the water came from and which surface was cooler than the air around it.
There is also an important contrast inside the glass: ice melting into the drink is a different process. The extra liquid in the drink comes from the ice, while droplets on the outside come from water vapor in the air. Noticing that difference turns an everyday cold drink into a useful way to explore changes in the state of water.